RabbitMq is used for exchanging messages between cross-platform applications. It can run on Windows, Linux, Mac, and Docker containers. In this post, we will provide easy steps to install rabbitmq on a windows environment.
I hope you are already aware of RabbitMq messaging system. Still, let me provide a brief introduction about it.

What is RabbitMQ?
RabbitMq is an open-source message broker application that implements the Advanced Message Queuing Protocol (AMQP). It is used for exchanging messages between cross-platform applications.
Example: A message sent from a .Net application can be read by a Node.js application or Java application with the help of any messaging system RabbitMq is one of them.
The RabbitMQ is built on the Erlang runtime environment so before we install rabbitmq in windows, first we need to download and install Erlang on our machines.
Install Erlang for RabbitMQ
- Open the official website of erlang https://www.erlang.org/downloads
- Download the Windows binary files as per your windows environment 32 /64 Bit.
- Once the download is completed click on the .exe file and starts installing the erlang. And follow the simple steps to install erlang on the machine.
- Once done with the installation part. Search Erlang in the search window to check if the installation was completed successfully.
- You should be able to see the Erlang shell.
Once done with the above steps then we can move on to the actual installation of RabbitMq.
How to Install Rabbitmq on Windows 10 Machine
Once you have set up the erlang properly. We need to just follow the typical next procedures like any other software to install RabbiMq windows machine.
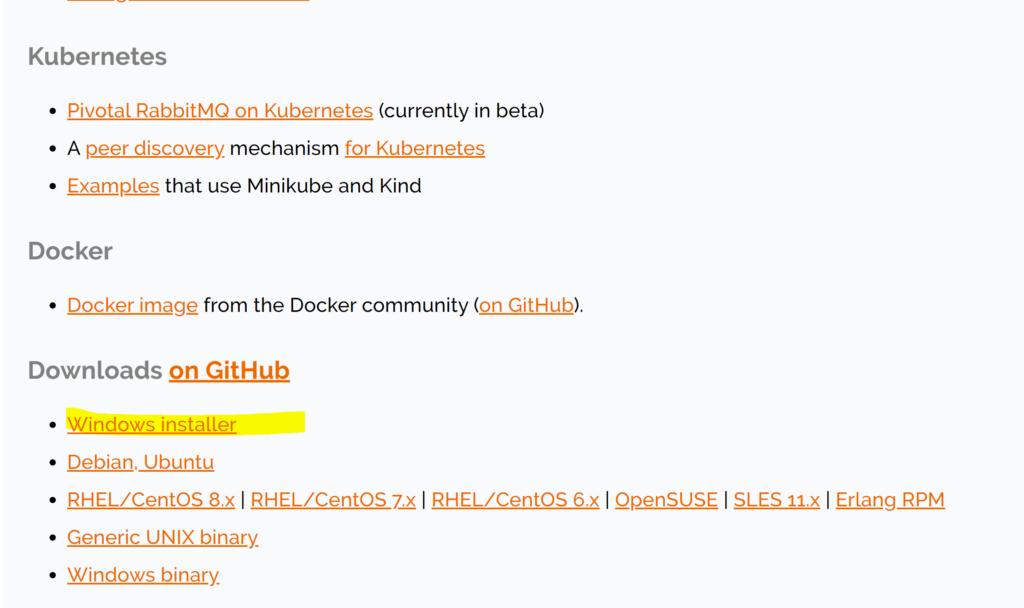
To Install Rabbitmq Download the suitable version for your machine
Open the official page of the RabbitMq application https://www.rabbitmq.com/download.html

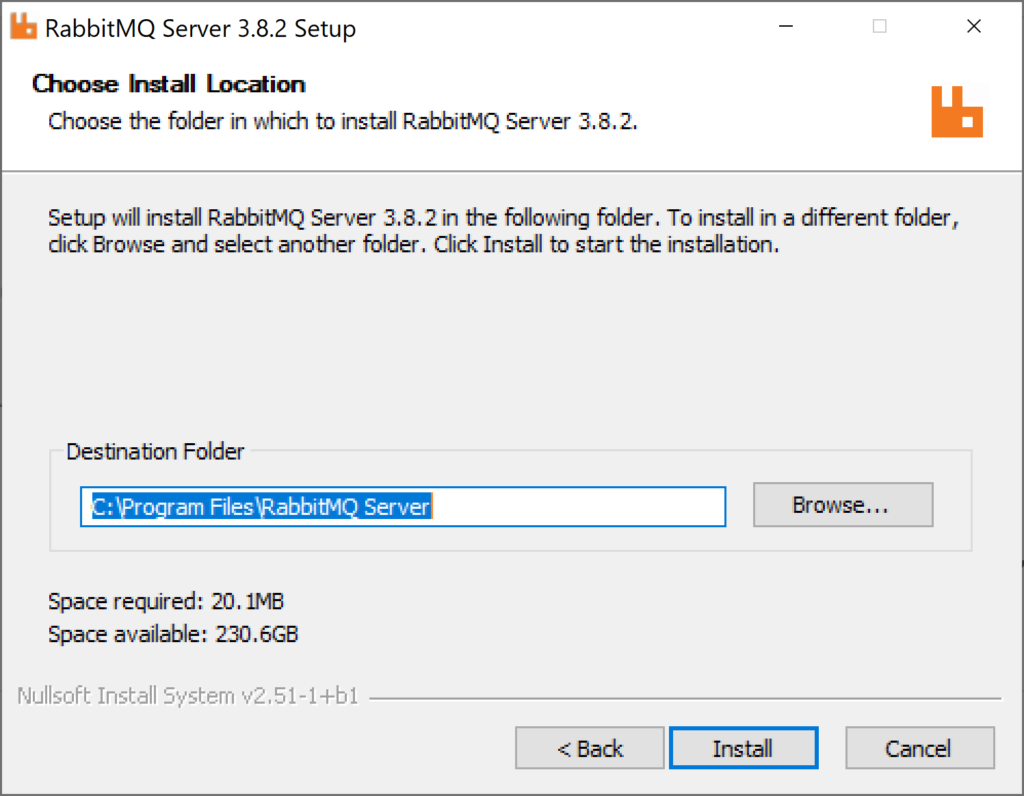
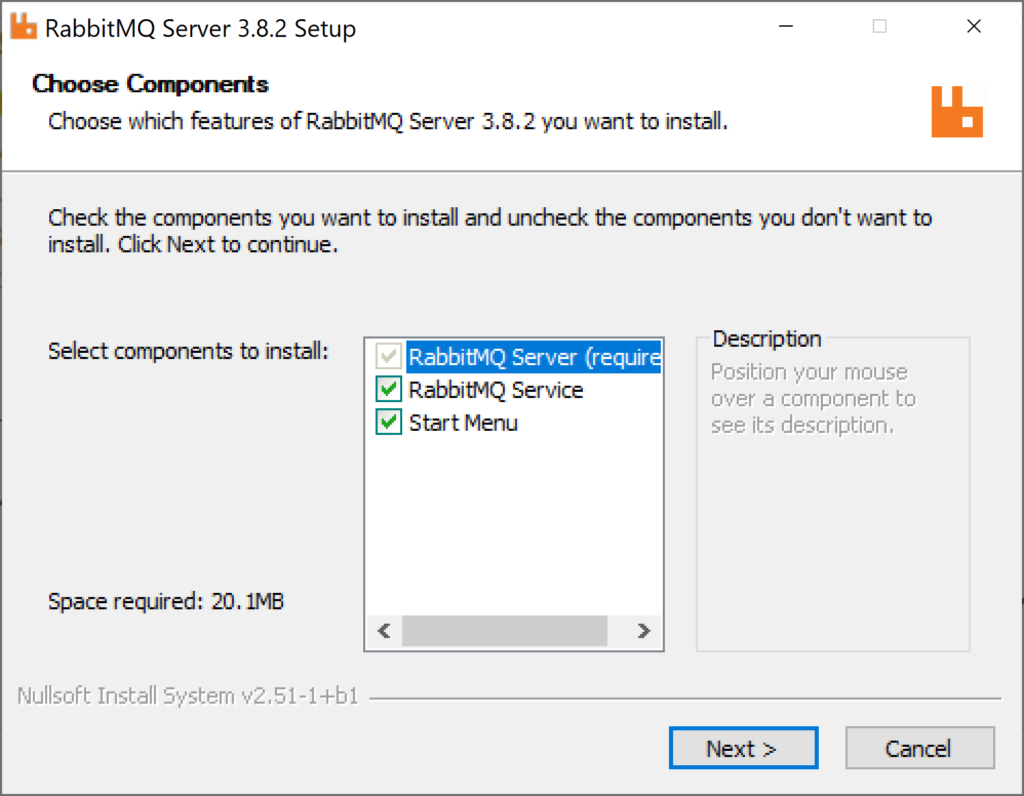
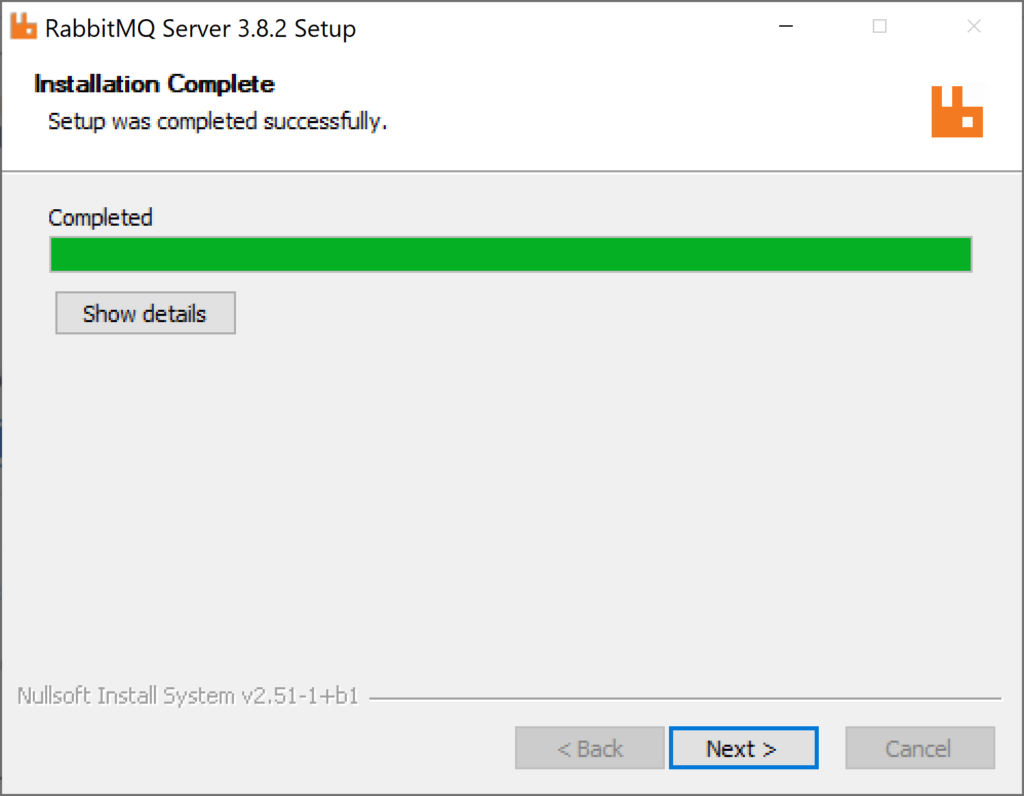
Follow the Typical steps to install
Download the highlighted windows installer. Once the download is completed click on the downloaded .exe file and starts the installation process.
Once done with the installation part. Search for RabbitMq in the windows search bar & Open the RabbitMq command prompt.
check the status of the RabbitMq server by running rabbitmqctl status command.
rabbitmqctl status

If you get a message like this means the service is up and running. You can access the RabbitMq web interface by browsing the application on http://localhost:15672/
How to start RabbitMQ Server in Windows 10
But, before that, you have to enable the web interface by running the following commands. Open RabbitMq command prompt in administrator mode and execute the listed commands.
rabbitmq-plugins enable rabbitmq_management

Now try to access the application by clicking on http://localhost:15672/ to open the user interface for RabbitMq.

Default credential for RabbitMq Web interface
You can access the application by providing the default username: guest and password: guest

Wrapping Up Notes
We understood the rabbitmq in brief and also the prerequisite required for installing it on the windows environment. We just followed the step-by-step guide to install rabbitmq on windows machines.
Also, we executed a few commands to enable the RabbitMq management and login to the user interface using default credentials. I hope you enjoyed this post. Feel free to provide your comments or questions in the comment section below.


