Logging is essential to understanding how programs behave, resolving problems, and learning about system performance in the field of software development.
One of the many strong features offered by Serilog, a well-liked logging library for .NET applications, is the capability to transmit logs to numerous locations.
Seq, a centralized log management solution that offers a wide range of tools for gathering, evaluating, and visualizing log data, is one such location.
In this post, we’ll look at how to set up Serilog to transmit logs to a Seq server so you can take advantage of Seq’s cutting-edge features for effective log management.
Setting Up the Environment
Before we dive into the code, let’s ensure that we have the necessary components set up. First, make sure you have a Seq server up and running.
You can either install Seq on your local machine or use a cloud-hosted Seq instance.
In this demo, we are going to install the Seq server using the Docker Image.
Step 1: Install Seq Server Using Docker
If you haven’t installed the docker on your machine. Make sure to install the same and start running the docker engine. Once the Docker engine is set up.
Open a terminal or command prompt and run the following command to pull the Seq Docker image from the Docker Hub.
Step 2: Pull the latest Image
docker pull datalust/seq:latest
Step 3: Run the container
Once the image is downloaded, you can create and start a new container with the Seq server. Use the following command.
docker run -d -p 5000:80 --name seq-server datalust/seq:latest
This command creates a new container named “seq-server” and maps port 5000 on your local machine to port 80 inside the container.
Step 4: Access Web Interface for Seq Server
Open your web browser and navigate to http://localhost:5000. You should see the Seq web interface, indicating that the server is up and running.
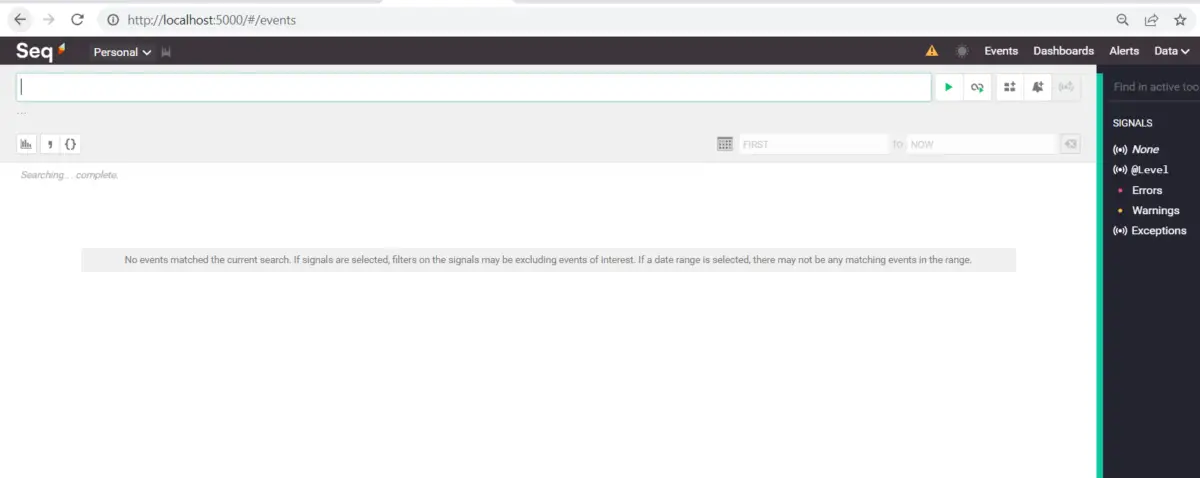
As we see the Seq server is set up and ready to accept the logs from different applications.
Configure Serilog
It’s time to set up the .Net core application and configure the Serilog Seq sinks using the Nuget package and application settings.
We already have done the basic setup to send the logs using Serilog in our Comprehensive guide on Serilog. Let’s use the same project.
Clone the project from Github
Install Nuget Packages for Seq Sinks
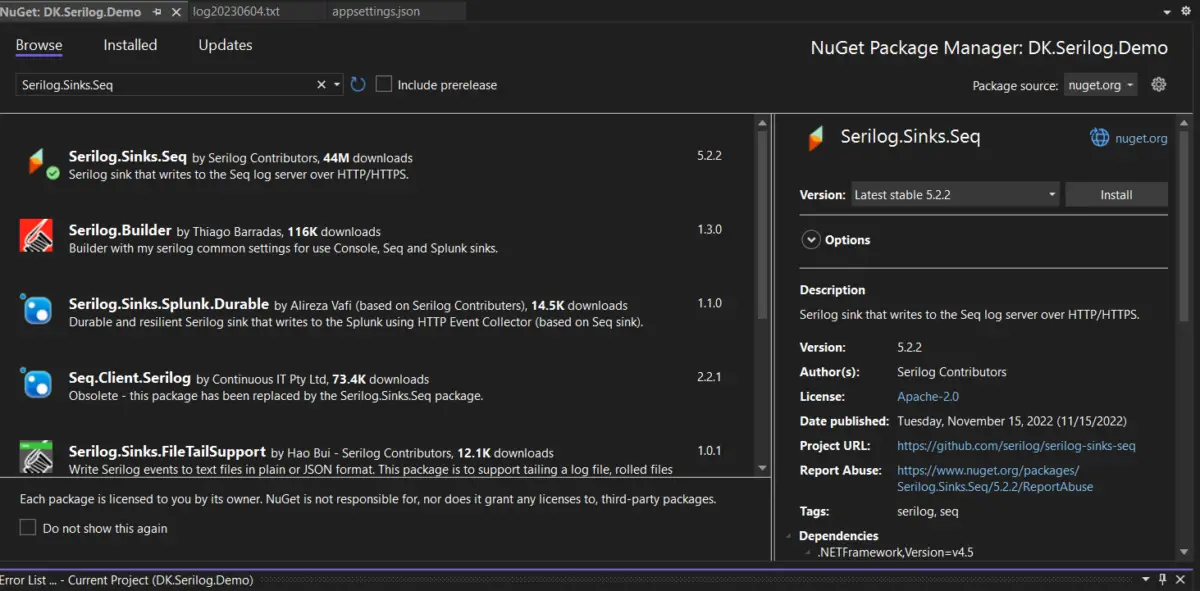
To get started, let’s install the required packages for Serilog and the Seq sink. Open your project in your preferred package manager, such as NuGet, and install the following packages.
As we are going to continue our demo app where we have already installed the Serilog package. So we need to install only Serilog.Sinks.Seq.
Update Json Configuration
Once the package installation is done. We can update the appsettings.json file to configure the Seq server URL and key if required.

After configuring the Seq server, we can run the application and verify that the logs are being transmitted to the Seq server.
Once your application is up and running, and logs are being sent to Seq, you can navigate to your Seq server’s URL in a web browser.
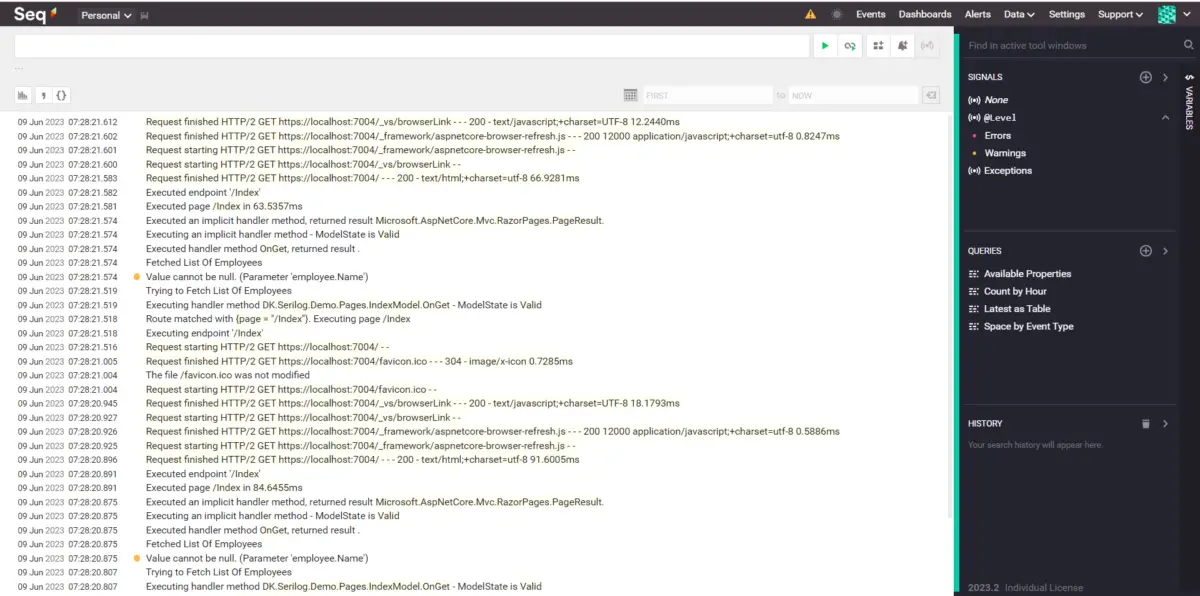
There, you’ll be able to explore and analyze your log data using the rich features provided by Seq. From searching and filtering logs to creating custom dashboards and receiving alerts, Seq offers a comprehensive log management experience.
Api Key
In Seq, an API key is a secure token that grants access to the server’s API endpoints. It allows authorized clients or applications to interact with the Seq server programmatically, such as by sending logs, creating dashboards, or managing server settings.
We can set up the API key in the Seq server by navigating to the Settings Page.

As we see here each API key can have a set of configurations like limiting log levels, granting permissions to specific operations, etc. You can explore all of these options once installed in your local.
Fill up the required information and perform the Save Changes. Which will create the new API key.

Once we have the API key generated, we can update the same appsettings.json file along with the server url.

Again we can run the application and check if the configuration is correct and if logs are still being sent to the server.

Conclusion
By configuring Serilog to send logs to a Seq server, you gain the ability to centralize and analyze log data effectively.
This allows for better troubleshooting, performance monitoring, and gaining insights into your application’s behavior. Now that you have the foundation in place, feel free to explore additional features of Serilog and Seq to further enhance your logging capabilities.


Comments are closed.