Azure which is actually known as Microsoft Azure was created by Microsoft. It is a Cloud computing service created for building, testing, deploying, and managing applications.
Software development(Dev) and IT operations (Ops) are combined together with the help of a set of practices called DevOps.
The path to building a pipeline is with Azure DevOps with the help of the feature called Azure Pipelines In the Microsoft realm.
Azure DevOps Pipeline
We can build and test our code project automatically with the help of Azure Pipeline which is a cloud service
Developers, DevOps teams, or anyone else can produce and deploy reliable code.
There are lots of things the Azure pipeline can do starting from continuous integration (CI) and continuous delivery (CD) to automatically run builds, perform tests, and shipping code to any target.
I am writing this article to describe how to set up the Azure DevOps pipeline for those people who have never heard of the pipeline or Azure DevOps before or have never built a pipeline with Azure DevOps.
Setup Azure DevOps pipeline
- First we have to create an Azure DevOps Organization
- Visit the Microsoft Azure website and Sign in
2. Click on + Create a resource
3. Search for DevOps in the Search box and select Azure DevOps and it will open the Azure DevOps as follows:-
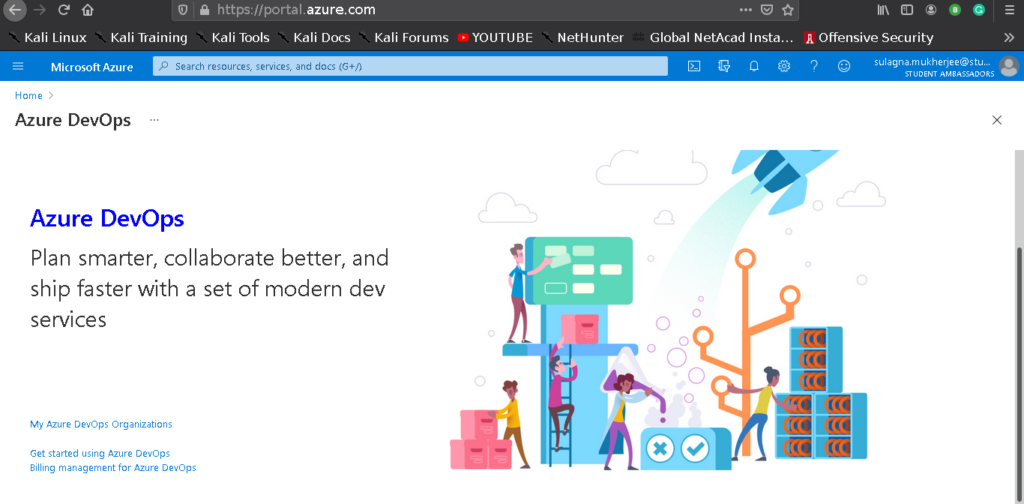
- Next, click the My Azure DevOps Organizations option and give your Azure account’s details and you will be taken to the page where you can create a new organization(I will give the name sulagnamukherjee). Once you are there, click the blue color option of Create a new organization button.
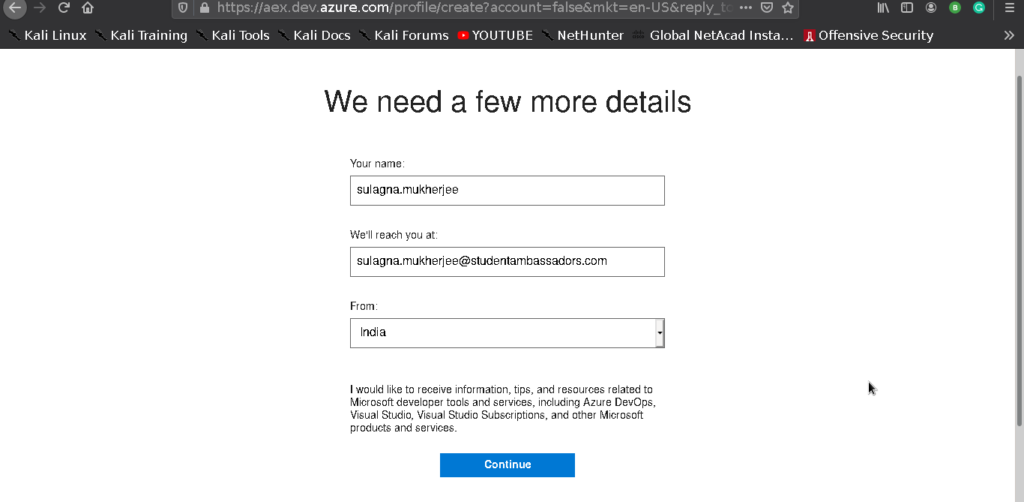
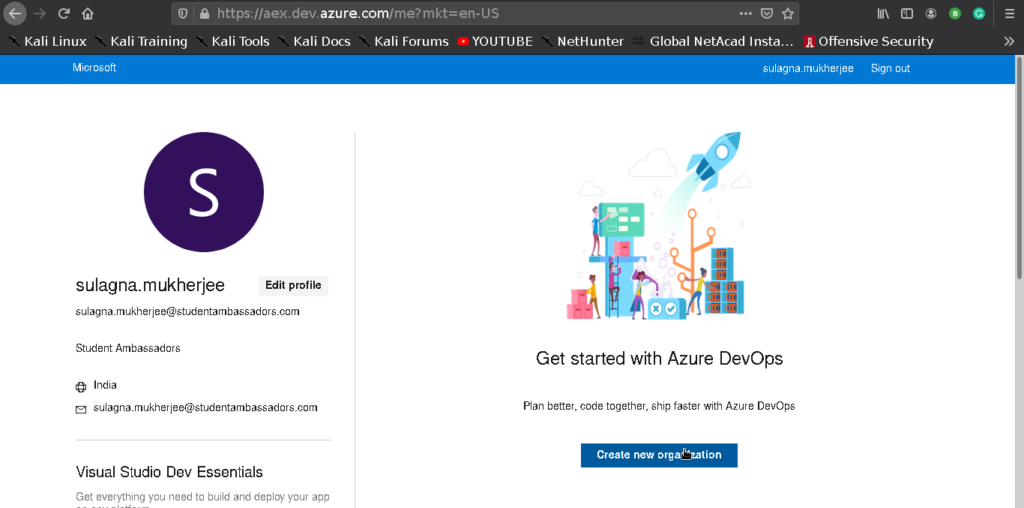
5. Next, you will be taken to a page where you have to provide a name for the organization. You can check the Azure DevOps organization naming conventions and click Continue.
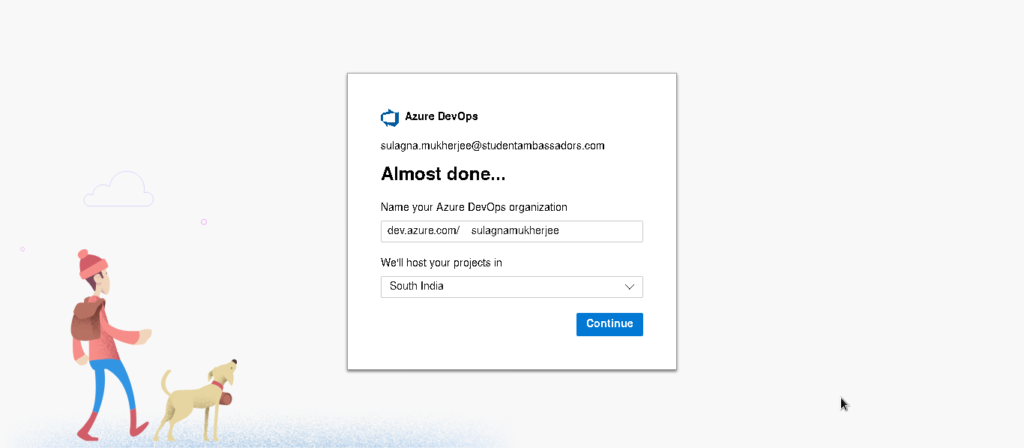
You have successfully created your Azure DevOps organization
- Next, Create an Azure DevOps Project
Now you have to create a project. A project that you will create will be a container for the pipeline that you will set up next.
Follow the given steps for creating Azure DevOps Project
- Give the name for your project in the Project name field on the project creation page, provide a. For this project, I will give the name of the project as Demo_project and click the + Create Project button to Confirm the creation of the project.

We will leave the Visibility set to Private so that the project isn’t exposed to the Internet.
- Now we are done creating the Azure DevOps workspace that includes the project & organization. The Azure DevOps organization called sulagnamukherjee and a project inside of that organization called Demo_project has been created.
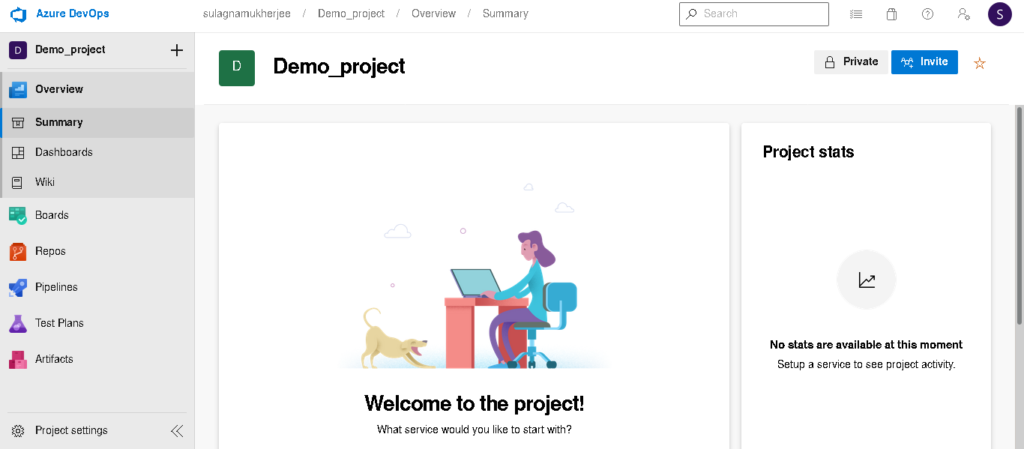
- Now, we have to build an Azure DevOps Build Pipeline
Now we are ready to create the pipeline inside the organization and project set up, this pipeline will help us to create builds for performing different tasks like compiling code, bringing in dependencies, etc. Check the following steps to create the pipeline:-
- From the Dashboard on the left side select Pipelines
- Click on the Create pipeline button.
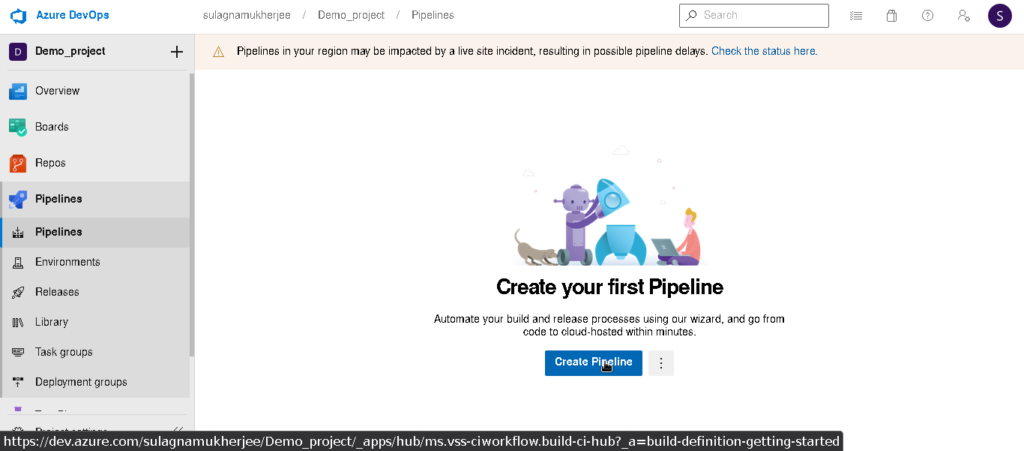
- Click on the “Github” option


4. Now we have to select the repository that we want to select.
5. Approve and install it
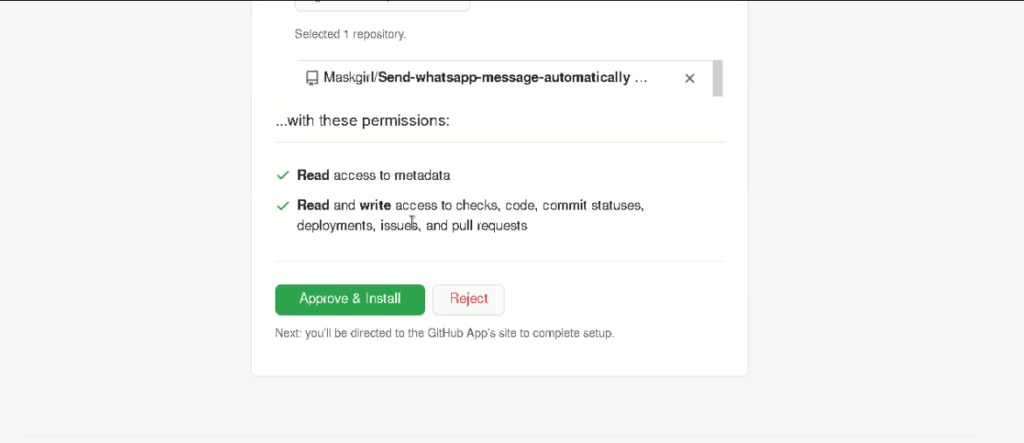
6. Configure your pipeline using any of them you want according to your requirement
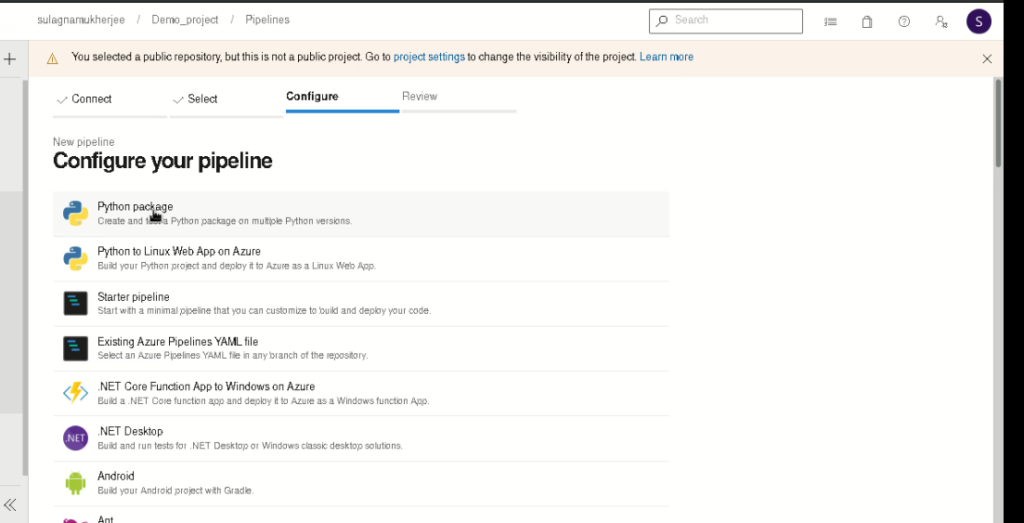
7. Review your pipeline
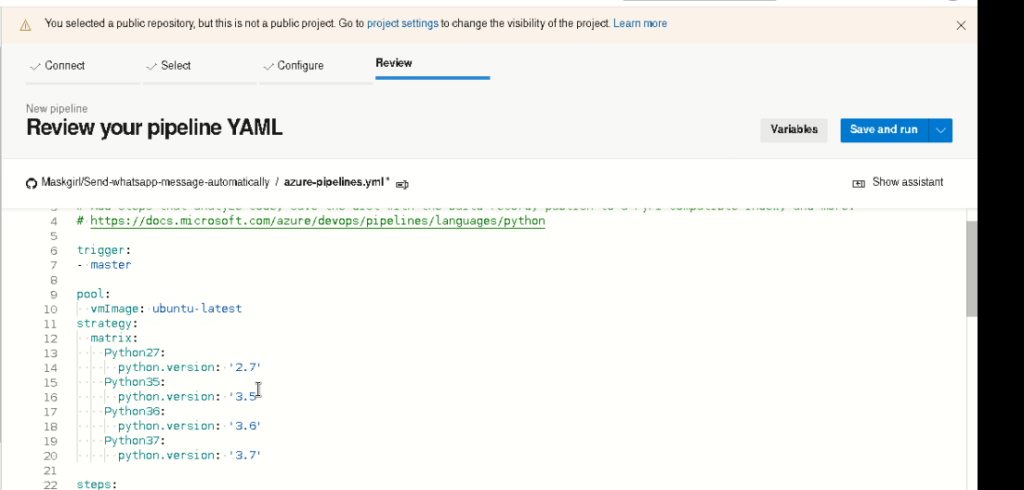
8. Save and run it

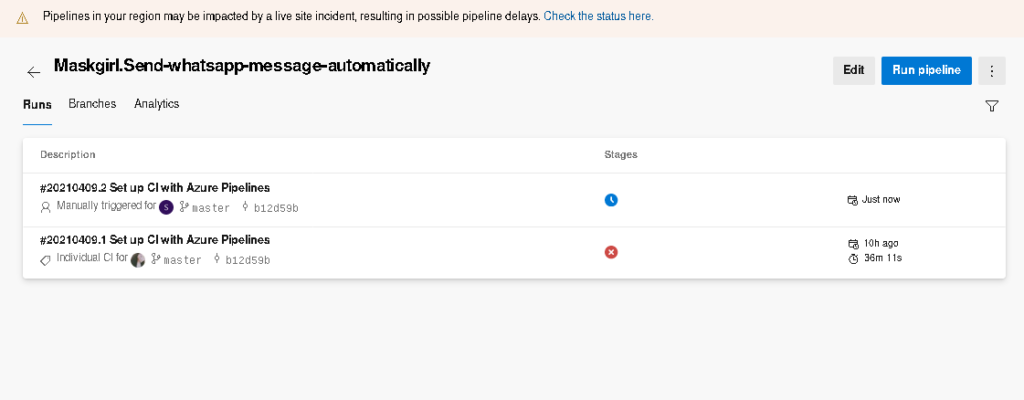
9. Now you are done setting up the pipeline

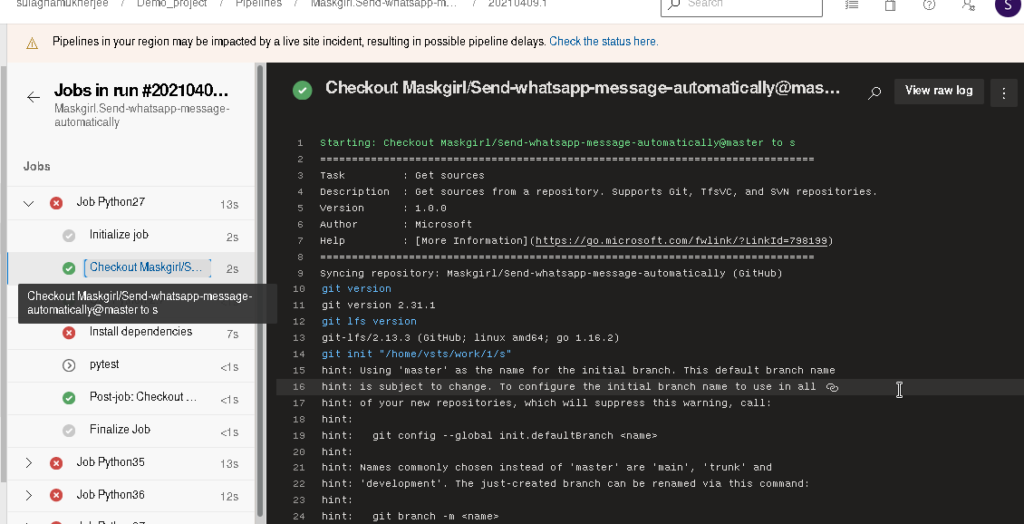
10. Go and check the pipelines and you will find your pipelines have been set up.
Conclusion
We hope you understand how to build an Azure DevOps pipeline and run it through the portal. On a high level, there are only three steps required to accomplish this.
- Create First Pipeline
- Locate Your Code by Repo
- Grant Repo Permission
- Save,Review and Run
- Maintain the Pipeline History
Is Azure DevOps server free?
Azure DevOps Server Express is free, easy to install on both client and server operating systems, and supports all of the features found in Azure DevOps Server. The only difference is that licensing agreements limit it to five or fewer active users.


Comments are closed.